10 Strip Light Tips for Global Buyers

Blog

10 Strip Light Tips for Global Buyers

Buying a Strip Light for an international project involves more than comparing price per meter. A roll may look identical in a product photo, yet differ in brightness, color consistency, or heat performance. Small details matter.

Global buyers need clear specifications before requesting quotations. Confirm input voltage, power consumption, color temperature, color rendering, cut intervals, and dimming compatibility. Check the IP rating against the installation environment, especially near moisture or dust. Ask how the product manages heat; a warm aluminum channel can affect service life. These checks help prevent costly surprises. They do not remove every risk.

Samples are useful, but test them under realistic conditions. Install a short section in the intended channel, connect the planned driver, and assess brightness and color after extended use. Review packaging, labeling, connector options, production lead times, and replacement-part availability. Request current product documentation, and verify that any claimed certifications apply to the exact model and destination market. Paperwork alone is not proof of consistent quality.

Price still matters. So does reliability. A low quote can hide differences in copper thickness, LED density, adhesive strength, or quality control. Even experienced buyers can overlook one of these details when deadlines are tight. That is worth reflecting on. The ten tips ahead offer a practical framework for comparing suppliers, checking specifications, and making a more informed purchasing decision without assuming that one product suits every project.
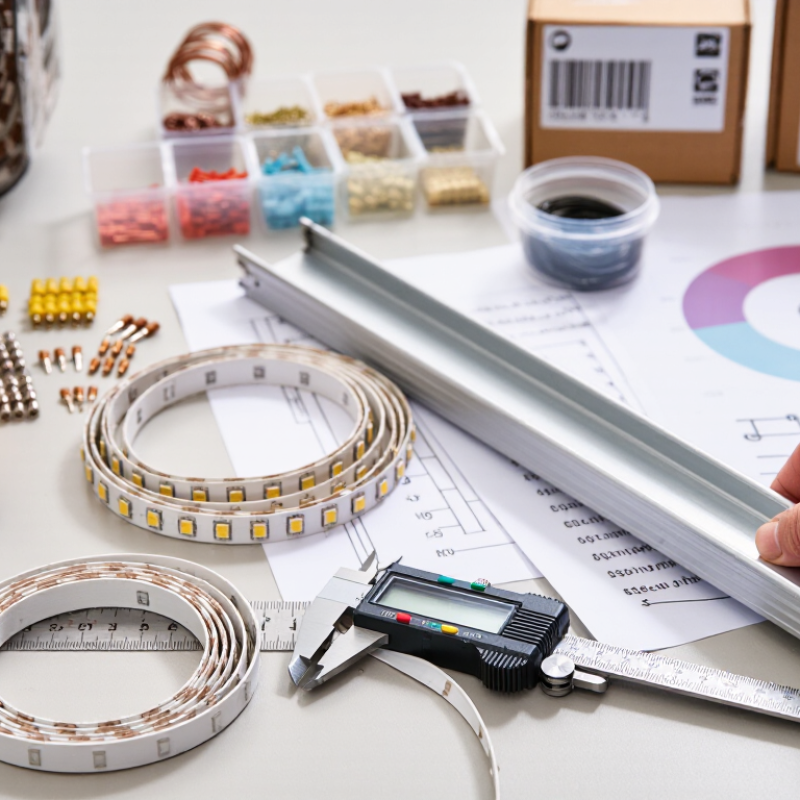
10 Strip Light Tips for Global Buyers

Understand Strip Light Types, Components, and Key Specifications

Strip lights differ in color, construction, and intended use. Single-color versions provide steady white or colored light for shelves and task areas. Tunable-white strips shift between warm and cool tones, which helps when room use changes. RGB strips create color effects, while RGBW versions add a separate white channel. For smooth, continuous lines, COB strips place many small light points close together. SMD strips show distinct LEDs more clearly. No type suits every project.

A typical strip includes a flexible circuit board, LEDs, resistors, and an adhesive backing. Some models add a silicone coating or sleeve for moisture protection, but sealing can affect heat release. Check the product’s IP rating against the actual location, not just a general “water-resistant” claim. On sample benches, adhesive performance can vary with dust, surface texture, and temperature. Clean, dry metal often holds better than painted or rough surfaces. Small detail, big difference.

Compare voltage, power per meter, brightness in lumens per meter, and color-rendering index. Also confirm the strip width, cutting interval, connector type, and dimmer compatibility before ordering. A 24-volt strip may reduce voltage drop over longer runs, but wiring still matters. Keep power supplies within their rated load and allow ventilation. Ask for a specification sheet and test a short sample; printed figures do not always reveal color consistency between batches. A missed cut mark can waste a whole section.

Choose Brightness, Color Temperature, and Color Options for Your Project

Brightness should be selected by the task, not by wattage alone. Compare lumens per meter, then consider mounting height, diffuser, and nearby surfaces. A strip under a shallow cabinet may look harsh, while the same output behind a deep diffuser can feel subdued. Measure the actual work area when possible. Small details matter. A sample installed in the intended channel reveals more than a catalog image, which can be misleading.

Color temperature changes how a space feels and how materials appear. Warm white, around 2700–3000 K, often suits relaxed settings; 3500–4000 K can feel more neutral in shops or work areas. Higher values may help create a crisp look, but they are not automatically better. Check the strip beside existing lamps and real project materials. I would not rely on a single chart to settle this choice.

For colored effects, decide whether the project needs one steady color or adjustable RGB output. RGBW adds a dedicated white channel, which can produce more useful white light than mixing colors. Ask for color-rendering information when accurate product or finish colors matter, and check consistency across rolls. Test it onsite. Dimming compatibility and control settings can also change the result, so include them in the sample test rather than assuming every strip behaves alike.

LED Strip Light Color Temperature Options

Compare common correlated color temperature (CCT) choices when planning a strip-light project.

Project tip: Lower CCT values appear warmer, while higher values appear cooler. CCT describes light color, not brightness; compare lumen output separately when choosing a strip light.

Check Voltage, Protection Ratings, and Installation Requirements

10 Strip Light Tips for Global Buyers

Check the strip’s rated input voltage against the actual supply at the installation site. A product marked 24 V DC needs a compatible power supply; it should not connect directly to mains power. In different markets, mains voltage and frequency can vary, so confirm both the strip and driver specifications before ordering. Small details matter. For long runs, voltage drop may dim the far end. Check the manufacturer’s maximum run length, and consider feeding power from more than one point when the design allows.

Protection ratings need context. An IP rating describes resistance to dust and water under specified test conditions, not every real-world exposure. A strip near a sink, in a humid room, or outdoors may need a different level of protection and sealed connections. The connector can be the weak point. Check the rating of the complete assembly, including joins and end caps, rather than relying on the strip alone.

Plan installation before peeling the adhesive backing. Clean and dry the mounting surface, follow marked cutting points, and observe polarity on low-voltage connections. Allow heat to escape; placing a strip in a sealed channel without checking thermal limits can shorten its life. One easy-to-miss detail is the driver’s location: it needs suitable ventilation and access for maintenance. Even experienced installers can overlook this, so a dry fit and a final specification check are worthwhile.

10 Strip Light Tips for Global Buyers - Check Voltage, Protection Ratings, and Installation Requirements

# Buyer Check What to Verify Why It Matters
1 Supply voltage Confirm whether the strip requires 5 V, 12 V, or 24 V DC, and match it with a compatible power supply. A strip must be powered at its specified voltage. Low-voltage strips should not be connected directly to mains electricity.
2 Local mains compatibility Check the power supply input range against the installation country's mains supply, frequency, plug, and wiring requirements. Mains voltage and plug formats vary by market. The power supply, rather than the low-voltage strip, connects to mains.
3 Power supply capacity Calculate total load: strip watts per metre × installed metres. Select a supply with suitable capacity; a 20–30% reserve is a common design allowance, subject to the manufacturer's guidance. An undersized supply may cause instability, excess heat, or reduced performance. Include any additional loads in the calculation.
4 IP protection rating Choose a rating for the actual exposure. For example, IP20 has no water protection; IP65 is dust-tight and protected against water jets under specified test conditions. A rating does not make every installation waterproof. Check the full product rating and the protection of connectors, joints, and power supplies.
5 Outdoor and wet-area suitability Confirm the product's permitted location and installation method. Do not assume that an IP rating alone makes a strip suitable for permanent submersion or every outdoor condition. Water exposure, condensation, sunlight, and temperature can affect the strip and its connections. Follow the product's specific instructions.
6 Run length and voltage drop Check the maximum recommended continuous run and feed points. For long runs, use manufacturer-approved parallel or additional power feeds where needed. Voltage drop along a strip can make distant sections dimmer or change their appearance.
7 Cutting and connection points Cut only at the marked cut points. Match connector type, strip width, pin count, voltage, and polarity. Cutting elsewhere or mismatching connections can damage the circuit or prevent sections from working.
8 Heat management Use the recommended mounting surface and allow heat to dissipate. An aluminium channel can help with mounting and heat transfer when suitable for the installation. Poor heat dissipation can shorten LED life. Do not cover or enclose a strip unless the product instructions allow it.
9 Dimming and controls Confirm that the strip, driver, dimmer, and controller are compatible in voltage, load, and control method. Incompatible equipment may cause flicker, limited dimming, or failure to operate as expected.
10 Installation and electrical requirements Review wiring diagrams, polarity, mounting instructions, and applicable local electrical and building rules. Use a qualified electrician for mains-side work where required. Correct installation supports safe operation and helps meet local requirements. Disconnect power before wiring or maintenance.

Note: Product specifications and installation instructions vary. Verify the exact strip, power supply, accessories, and local requirements before purchase and installation.

Verify Product Quality, Safety Certifications, and Supplier Reliability

Before approving a strip light order, request the exact model’s safety documents and test reports, not a certificate for a similar product. Check that the report identifies the manufacturer, model, test standard, and issuing laboratory. For finished luminaires, IEC 60598-1 may be relevant; requirements depend on the product design and destination market. Verify certificates with the issuing body where possible. Small details matter. I have seen paperwork look convincing while describing a different configuration.

Then test samples under real conditions. Measure power use and brightness per meter, inspect solder joints and insulation, and check whether the adhesive holds on a clean metal surface. Compare color temperature and color rendering across several reels. The U.S. Department of Energy’s 2022 Solid-State Lighting R&D Opportunities report notes that lighting uses about 15% of global electricity and contributes around 5% of global greenhouse gas emissions. Those figures make efficiency claims worth checking, not simply accepting. Ask suppliers for batch traceability, warranty terms, production capacity, and a named contact for defects. A fast reply is useful, but it is not proof of reliability. Even careful buyers can miss inconsistencies when sample quality differs from mass production.

Compare Pricing, Shipping Terms, and After-Sales Support

For global buyers, a strip light quote is useful only when its costs are clear. Compare the price per metre, but also check what it includes: power supplies, connectors, mounting clips, and packaging. Ask whether the quoted amount changes with order volume or custom lengths. A low unit price can hide expensive accessories. Check sample and production costs separately. Small details matter.

Shipping terms can change the real landed cost. Confirm who arranges transport, when responsibility transfers, and whether freight, insurance, and import charges are included. Ask for the carton dimensions and gross weight; a long, light shipment may be charged by volume. Request an estimated dispatch date and transit range, not just “fast delivery.” Delays happen. Build in a buffer for installation deadlines. I would not choose a supplier on a freight estimate alone, especially before checking the delivery address and unloading arrangements.

After-sales support deserves the same scrutiny as the product specification. Get the warranty period and coverage in writing, including how damaged units or inconsistent color output are assessed. Ask what evidence is needed, such as batch labels, photos, or a short test video, and how quickly the supplier normally responds. A clear process is reassuring. Still, response promises are not guarantees, so keep records of specifications and approvals. It is easy to overlook this until a few sections fail.